Once your plan is in place, you can start production on the asset or event at the center of your campaign.
Regardless of format, your rst step should be to create an outline in Google Docs. Start by guring out how you can organize information into di erent sections or chapters. Then, add bullet points beneath each section to highlight speci c examples and advice.
For a webinar, you might also want to include how long you expect it will take the webinar host(s) to speak through each section.
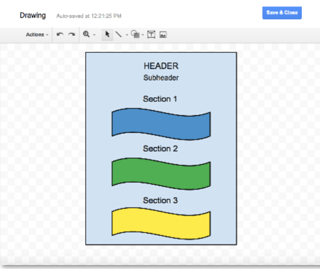
For something more visual, like an infographic, you can use the Drawing tool within Google Docs to create some initial sketches.

Again, the beauty of using Google Docs is that once you create your outline, you can easily share it with stakeholders to get approval and/or feedback.
If you are responsible for creating the content (or running the event), this outline will serve as your production roadmap. Use it as a guide as you esh out each section with information you gather via research and interviews.
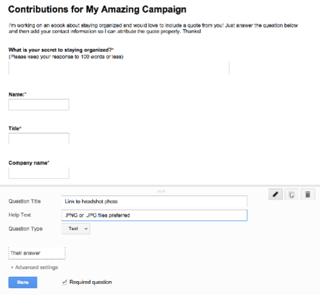
Need to gather some contributions (e.g., quotes, pro tips, examples) for your campaign? You can use Google Forms to create and share prompts/questionnaires.
At HubSpot, we try to make our forms as speci c as possible, so contributors know exactly what we’re looking for (e.g., a piece of advice on X subject, written in less than 100 words, along with the contributor’s name, their job title, their headshot, etc.)

During this stage of managing your campaign, you’ll also want to create promotional images that you can use in emails, on your blog, and on social.
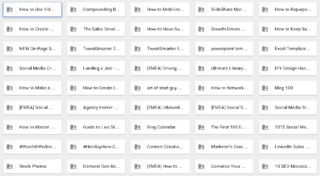
Use Google Drive to keep all of your campaign images organized and easily accessible. At HubSpot, we have a dedicated Campaign Images folder with sub-folders for each individual campaign:

And within those campaign-speci c folders are sub-folders for the di erent channels and platforms where particular images will be shared.
Using these sub-folders helps ensure that you’re always using the proper image dimensions when posting to di erent social channels.

